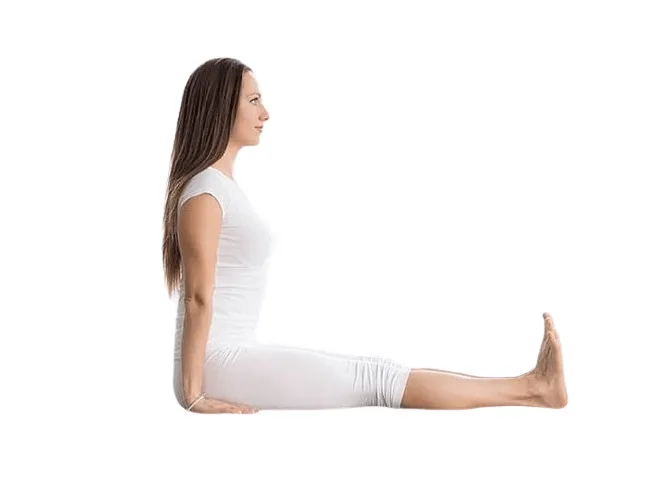
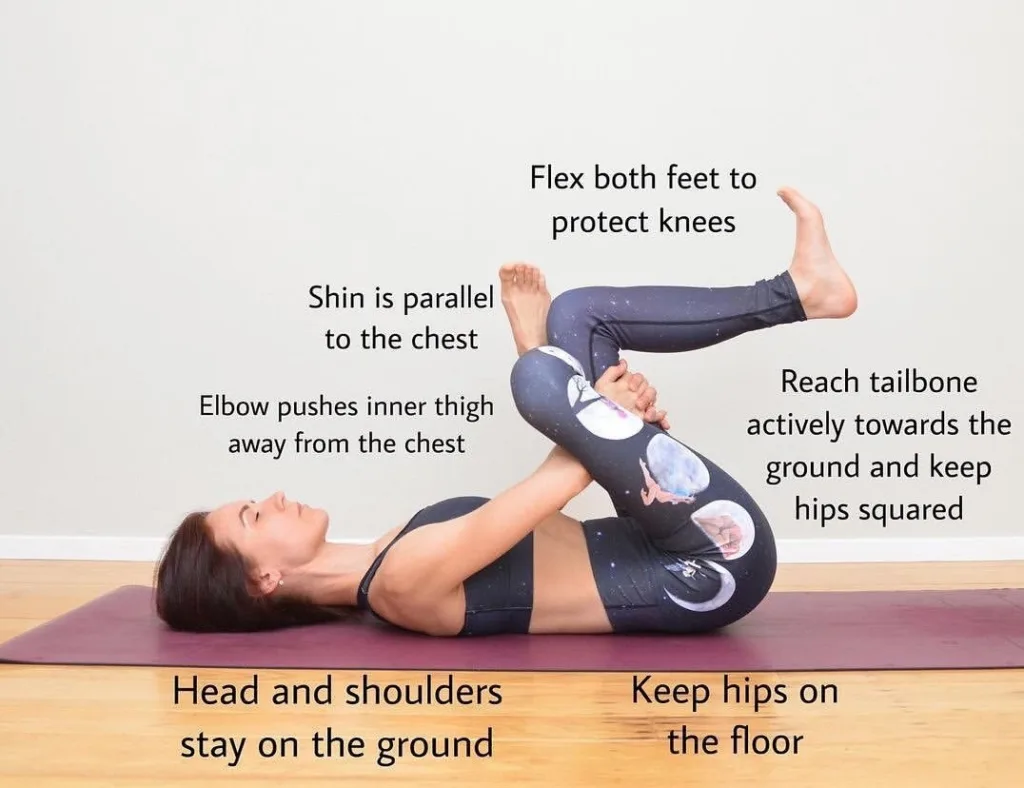
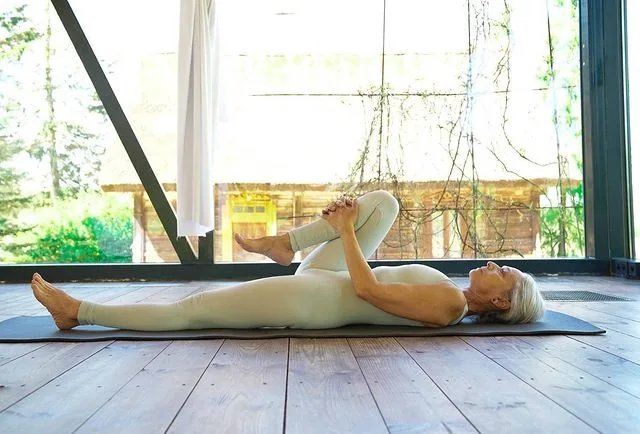
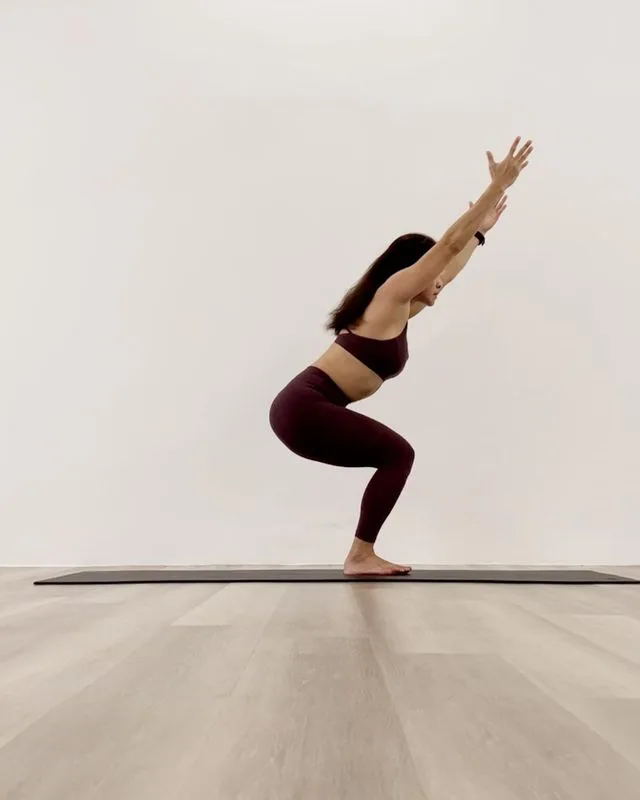
Dandasana, also known as Staff Pose, serves as a barometer for other seated poses, a place of retreat in which the body and mind assess the changes created by previous postures.
Dandasana can be considered as a seated form of Mountain Pose (Tadasana). The chest opens up and forward like in Mountain Pose. The hips are flexed to ninety degrees, and the lower back is slightly bent. Initially, the tendency is to round the lower back and slide forward. This is usually due to some level of tightness in the muscles around the hips, including the hamstrings.
To better understand why tight hamstrings round the lower back, look at the origin of the hamstrings from the ischial tuberosity of the pelvis. Tight hamstrings pull on these structures, causing the pelvis to tuck down (posteriorly). This position of the pelvis then affects the lumbar spine, causing it to round. This is an example of coupled motion between the femur and pelvis, and between the pelvis and the vertebral column. Build length in the hamstrings in other postures, and then notice how it becomes easier to align the vertebral column above the pelvis and sit upright in Dandasana.
Information
| Known as: | Dandasana, Staff Pose, Stick Pose, Seated Tadasana, Seated Mountain Pose |
| Sanskrit name: | दण्डासन |
| IAST: | Daṇḍāsana |
| Pronunciation: | dahn-DAHS-uh-nuh |
| Level: | Beginner |
| Type: | Seated, Restorative pose |
| Total time: | At least 60 seconds |
| Drishti: | Forward; Eye closed |
| Chakra: | Manipura Chakra, Swadisthana Chakra, Muladhara Chakra |
| Focus: | Shoulders, upper back, chest, abdomen, legs, torso, arms, spine |
| Indications: | Asthma, digestion, sciatica, abdominal, circulation |
| Counterpose: | Paschimottanasana (Seated Forward Bend Pose) |
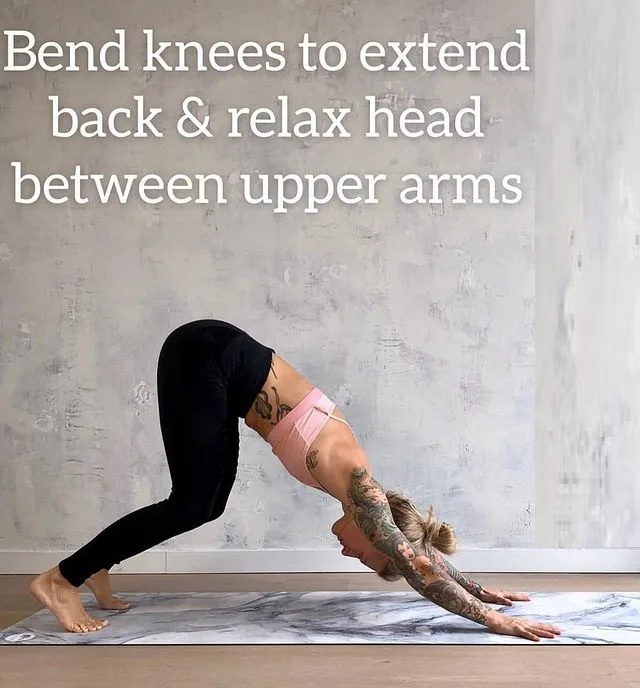
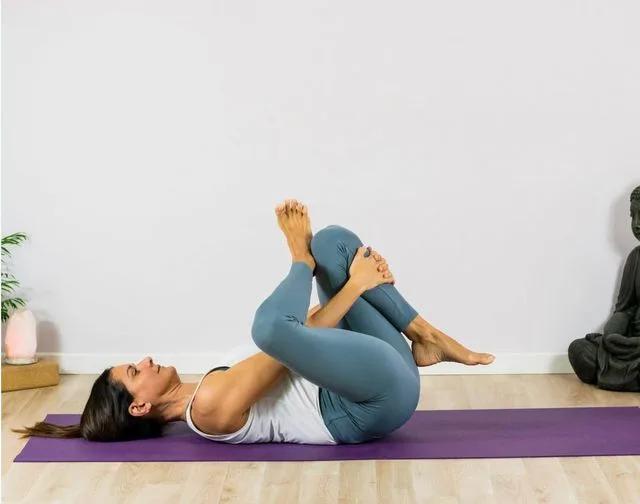
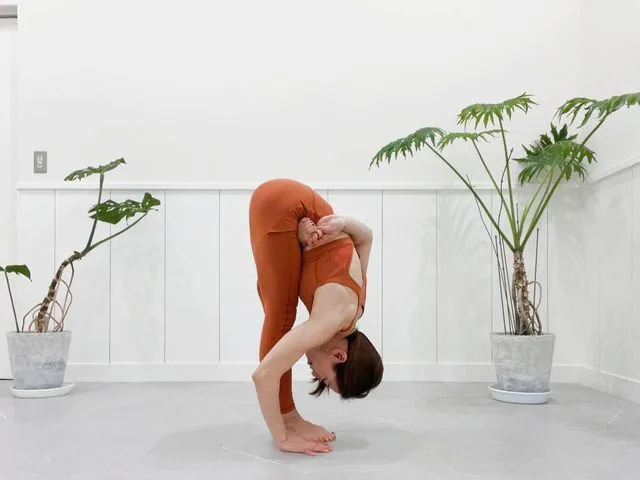
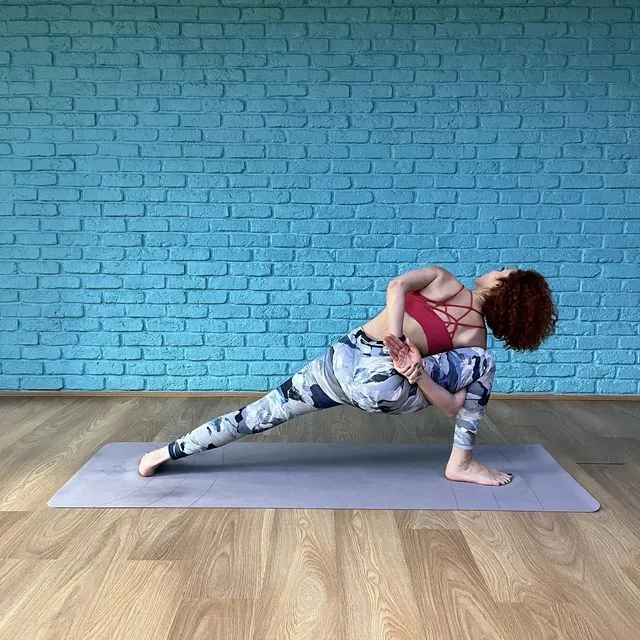
| Preparatory poses: | Upward Salute (Palm Tree Pose), Standing Spinal Twist Pose, Uttanasana, Downward-Facing Dog Pose |
| Follow-up poses: | Purvottanasana, Bharadvajasana I, Pascimottanasana, Tolangulasana |
| Contraindications: | Lower back injury, back surgery, wrist injury |
Meaning + Origin
Dandasana is derived from the Sanskrit name, which is made up of two words — Danda + asana:
- “Danda” = “staff or stick”
- “asana” = “pose or posture”
Dandasana is so called because the spine resembles the staff raised by Indian tyrants who have attained the title of Swami Danda.
The staff itself is said to represent the spinal column and the way it paves the way for the energy of self-awakening. Therefore, Staff Pose is considered the ideal asana to promote strength and good form, which supports one’s spiritual journey.
The 19th-century Sritattvanidhi uses the name Dandasana for a different pose, the body kept straight, supported by a rope. Yoga scholar Norman Sjoman notes, however, that the traditional Indian gymnastic exercises includes a set of movements called “dands”, which are similar to the Surya namaskar and vinyasas used in modern yoga.
Benefits of Dandasana (Staff Pose)
The pose strengthens the pelvic floor muscles and promotes proper blood flow, which also improves the function of the sciatic nerve. Sciatica pain can be reduced by continuous practice of Dandasana. In addition, it is also therapeutic for asthma as it opens up the chest, which promotes the flow of oxygen.
Listed below are some main physical and mental benefits derived from practicing this yoga asana in the right way.
- Physical Benefits:
- Strengthen legs, torso, arms, and spine
- Tones abdominal muscles
- Opens the chest
- Improves the flexibility of the hips and pelvis
- Improves muscular endurance of legs and lumbar spine
- Increases circulation
- Mental Benefits:
- Reduces stress
- Creates focus
Dandasana (Staff Pose) Practice Guide
In Dandasana may have slump tendency. You can remedy this by bending your knees to release your hamstrings. Notice how this frees you up to extend your lower back. Engage the muscles around your lumbar spine to maintain this position. Press your hands down and lift your chest. Then straighten your knees. If your back muscles feel tight, do a forward bend like Paschimottanasana to prepare for Staff Pose.
Step-by-step Instructions
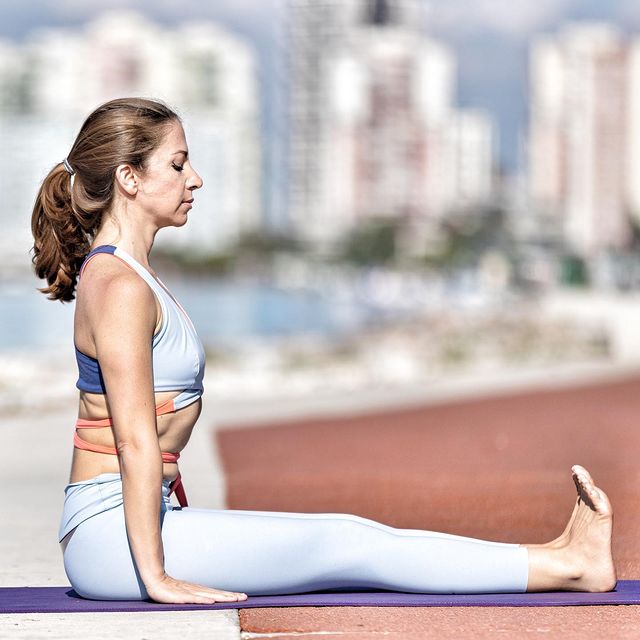
- Exhale as you sit up straight, keep the hands flat on the floor next to the hips, and straighten the legs.
- If you have long arms, you’ll need to bend them slightly to keep the shoulder girdle relaxed. If the arms are short, the hands may not touch the floor, so be careful not to round the back and push the hands into the floor.
- Keep shoulder girdle wide and open, drop shoulder blades back and lift chest.
- lower the chin; As you inhale, the sternum will rise towards the chin and ideally touch. As you exhale, the chest drops, and the chin and chest separate.
- Make sure you bend at the waist from the hip joints and keep the spine straight while extending the legs at a 90 degree angle.
- Engage the feet by pushing the heels away from the pelvis and into the “ground” while raising the knees and activating the internal quadriceps.
- Imagine a floor under the feet and connect it through the feet from the base of the big toes along the quadriceps and into the pelvic floor.
- To build core strength and protect hamstring attachment, press sit bones into the floor and actively push down to engage the pelvic floor.
- Work these muscles consciously and suck in the belly to gain more access to the inner space of the pelvis.
- Draw the abdomen in (from the navel down to the pubic bone) to support the natural lift of the spine. Be careful not to overextend or round the lumbar spine.
- Consider sending the spine up, bringing attention to the erector spinae muscle, and lifting it out of the pelvis to make room between each vertebra.
- Let the energy go over the head, but keep the sit bones on the floor.
- The breath should be up and down in the inner parts of the spine, but not in the lower abdomen. The stomach should not be pulled out at any point during this pose. In fact, stretching it in is important to establish healthy use of the spine in all subsequent turns.
- If you are unable to sit with a straight spine and your lower back is severely rounded, you may find it useful to bend your knees slightly so that you reach the hip joint.
- If you must bend the knees, make a conscious effort to straighten them as much as possible while maintaining both the lift of the spine and the natural curvature of the lumbar region.
- If you’re more advanced, you can send the heels away from the pelvis and lift them off the ground slightly.
- As long as the back of the knees is not touching the ground and the knees are not hyperextended, this action is useful. Stay in the pose for at least 60 seconds, then immediately move on to the next pose, Paschimottanasana.
Step-by-step Anatomy Engaging Techniques
Step-1
- Flex your hips by engaging your psoas muscles. For this action, press your hands on your thighs, squeeze your feet together and try to lift them off the ground. This allows you to feel the contraction of your psoas.
- Two muscles wrap around and support your lumbar spine—your psoas major and quadratus lumborum. Peso major works to pull your lumbar spine forward. This action is due to a neurological connection between the two muscles together with your quadratus lumborum, so that they are stimulated together to support your lumbar spine.
- Your pelvis tilts forward as your lumbar spine extends and lifts. Anterior tilt of the pelvis coincides with flexion of your femur, reflecting coupled movement between adjacent joints. Your pectineus and adductors longus and brevis synergize, flexing the femur while drawing them together.
Step-2
- Straighten your knees by engaging your quadriceps. Your sartorius and rectus femoris cross your hips, synergizing the quadriceps to extend your knees.
- Engage your tensor fascia lata, gluteus minimus, and anterior fibers of your gluteus medius to internally rotate your thighs. Adjust the rotation of your legs so that your kneecaps point straight up and do not roll to the side. A cue of engaging these muscles is to press your heels into the mat and try to isolate them. Notice how this action turns your thighs inward.
Step-3
- There are many types of actions to lift your back in Dandasana (Staff Pose). Your erector spinae and quadratus lumborum act directly on your vertebral column, elevating it.
- To engage these muscles, arch your back slightly.
- To extend your elbows, press your hands on the floor by contracting your triceps.
- Then rotate your shoulders outwards. It activates your infraspinatus and small muscles of your rotator cuff.
- Press the base of your index finger into the floor to engage your pronator teres and quadratus of your forearms. The movements of your arms and shoulders indirectly lift your spine and synergize the muscles of your back.
Step-4
- Pull your chest forward and up. Several muscles work together to perform this action, including your latissimus dorsi, posterior deltoids and rhomboids. Your latissimus dorsi originates from the midline of the back, from your lumbopelvic region to your mid-thorax, and inserts onto the upper humerus.
- You usually think of this muscle as stretching your humerus from a flexed to an extended position, with a chin-up. This is known as an open chain contraction of the muscle, in which the insertion on your humerus moves, but your origin remains relatively stationary.
- You can fix the hands on the mat so that your arms—the insertions of your latissimus dorsi—can’t move. Then, if you try to scrub your hands backwards on the mat, your latissimus dorsi contracts and moves its origin, lifting your back and expanding your chest.
- Your posterior deltoids synergize this effect. Also contract your rhomboids to draw your shoulder blades toward the midline. Stabilize them to prepare for the next step in the pose.
Step-5
- Contract your pectoralis minor to lift and open your ribcage. To engage this muscle, first fix your shoulder blades by activating your rhomboids (Step-4).
- Keep your scapula pulled back towards the midline, and then try to roll your shoulders forward.
- Your pectoralis minor arises from the coracoid process of your scapula (the beak-like bone at the front of your shoulder blade). Since your rhomboids are preventing your scapulae from moving, the origin of your pectoralis minor remains fixed.
- Your contraction of this muscle is transmitted to its insertion on your rib, raising and expanding your chest. A similar process occurs with your pectoralis major.
- Finally, contract your serratus anterior to expand your chest out to the sides. As with your pectoralis minor, the origin of your serratus anterior is held by placing your scapula posteriorly. As a result, when you engage this muscle, your ribcage lift and your chest expands.
Step-6
- Engage your peroneus longus and brevis muscles on the outer part of your lower legs to straighten the soles of your feet.
- Pull your toes toward the head by activating your toe extensors. It begins to lift your arch.
- Engage your tibialis posterior to further raise the arch of your foot and stabilize your ankle. This muscle bridges your tibia and fibula, crosses your ankle, and inserts on the inner surface of your midfoot. Visualize this muscle contraction to invert your feet and oppose your peronei’s action.
Precautions and contraindications
- Since this is a very simple sitting posture, not much can be said about the precautions and contraindications. But it can be said that if the thighs are hurt during stretching and there is also a condition of sciatic nerve, or if the lower back does not provide support and is extremely stiff, then caution can be taken while practicing this yoga posture.
- Avoid practicing Dandasana if someone has a wrist injury.
- Don’t let your legs turn outwards, keep them straight and flexed. This ensures stability.
- Always bend your leg subtly to prevent hyperextension of the knee.
- Avoid any kind of exaggeration on the vital area of the spine, inner thigh etc.
- Tightening of the hamstrings and cold muscles can hinder the entire stretch. Therefore, it is better not to exert too much pressure on those areas of hardness.


