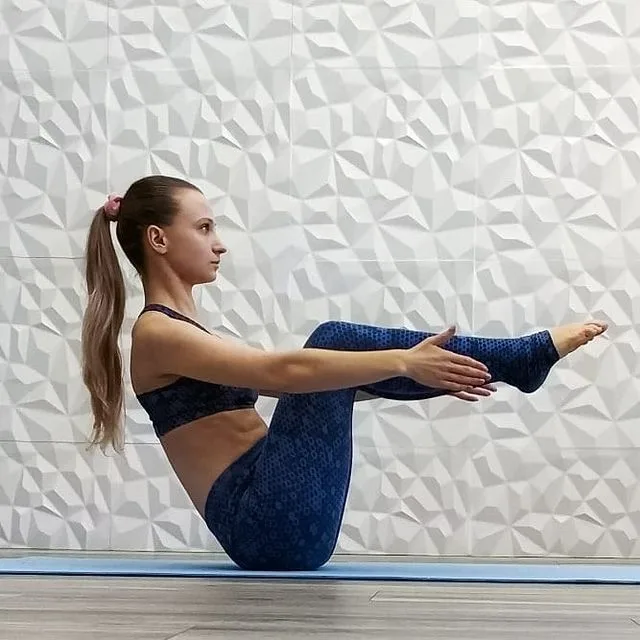
Adho Mukha Vrksasana, also known as Handstand, or Downward-Facing Tree Pose, develops the body harmoniously. It strengthens the shoulders, arms, and wrists and fully expands the chest. The pose in modem gymnastics is Full Arm Balance.
Information
| Known as: | Handstand, Adho Mukha Vrksasana, Downward Facing Tree Pose, Full Arm Balance |
| Sanskrit name: | अधो मुख वृक्षासन |
| IAST: | Adho Mukha Vṛkṣāsana |
| Pronunciation: | ah-doh moo-kah vriks-SHAHS-anna |
| Level: | Advanced |
| Type: | Arm Balance, Inversion |
| Total time: | 10 sseconds or more, depending on experience level |
| Drishti: | Angushtamadhye or Angushta Ma Dyai (thumbs) |
| Chakra: | Sahasrara Chakra, Ajna Chakra, Vishuddha Chakra |
| Focus: | Arms, shoulders |
| Indications: | Depression and anxiety |
| Counterpose: | Child’s Pose (Balasana) |
| Preparatory poses: | Downward-Facing Dog Pose, Crane Pose, Crow Pose, Feathered Peacock Pose, Plank Pose, Reclining Hero Pose, Mountain Pose, Standing Forward Bend Pose, Hero Pose |
| Follow-up poses: | Supported Headstand, Pincha Mayurasana |
| Contraindications: | Shoulder, neck and back injury, Heart problems, High blood pressure, Headache, Pregnancy |
Meaning
The Adho Mukha Vrksasana is derived from the Sanskrit name, which is made up of four words — Adho + Mukha + Vrksa + Asana:
- “Adho” = “downward”
- “Mukha” = “face or facing ”
- “Vrksa” = “tree”
- “Asana” = “pose or posture”
Benefits of Adho Mukha Vrksasana (Downward Facing Tree Pose)
The physical and mental benefits of Handstand (Adho Mukha Vrksasana) are listed below:
- Physical Benefits:
- Strengthens the hands, wrists, shoulders, spine, and bones
- Promotes digestion
- Aids in heart health
- Improves circulation
- Improves balance
- Mental Benefits:
- Relieves stress
- Reduces anxiety
- Calms the mind
- Improves clarity of thought
- Relieves fear
- Supports mental strength
- Improves emotional balance and stability
- Promotes energy flow to the head
Handstand (Adho Mukha Vrksasana) Practice Guide
Adho Mukha Vriksasana (Full Arm Balance) is an inversion as well as an arm balance pose. Benefits of the inverse component include improved venous return to the heart, with increased cardiac output and improved lymph flow in the thoracic duct.
We spend most of our lives in the bipedal position, walking, standing, etc. The hip joint is structured to bear the load in these types of activities. The shoulders, on the other hand, are highly mobile and are designed to interact with the environment with our hands. Practicing poses such as full arm balance reverses this design by turning the mobile shoulder joint into a joint that must be stable to bear the load. It strengthens the muscular stabilizers of the shoulder.
The stability and balance in this asana originates from the pelvis. In the standing posture, we engage the legs with the pelvic core and then refine the pose through upper body movements. Here we connect the hands to the shoulder girdle and stabilize the pose with the pelvic core. Wiggle in the pelvis creates instability in the posture. This volatility extends to the upper extremities, where it is amplified, making it more work to hold the pose.
Accordingly, stable arm balance requires that the pelvic core muscles, such as your psoas and gluteals, develop and awake for yoga practice. Use the standing pose sequence to engage these core muscles.
Step-by-step Instruction to Handstand (Full Arm Balance)
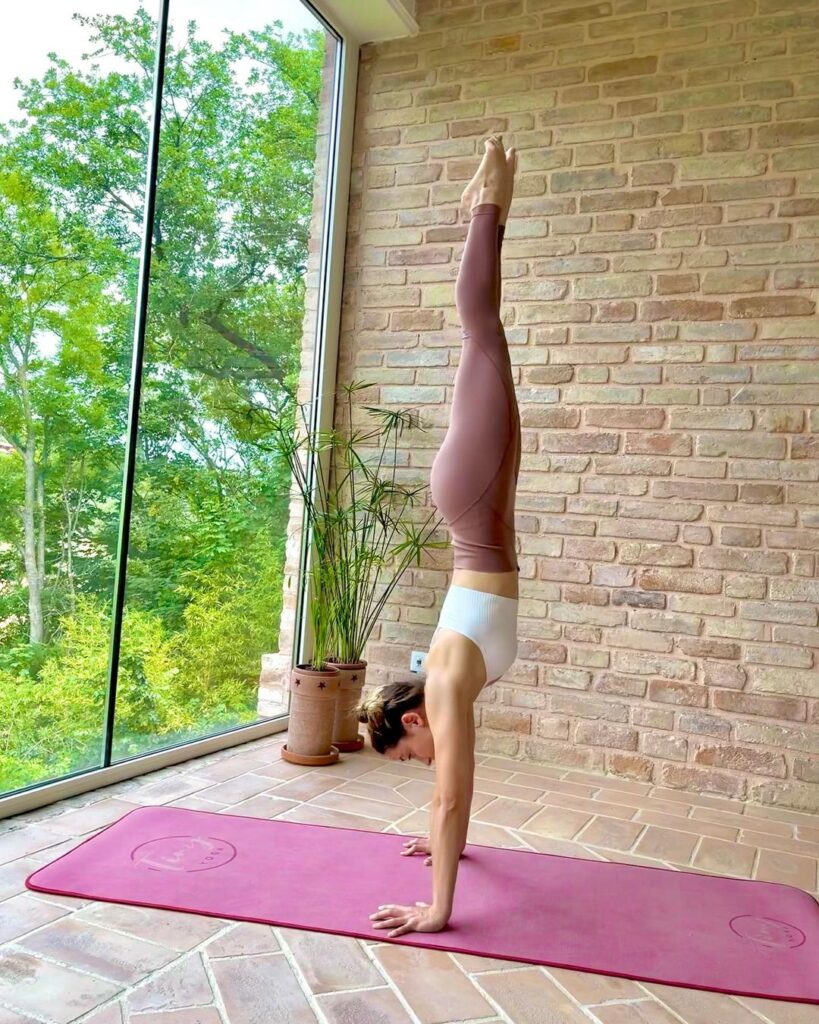
The move up to Handstand (Adho mukha vrksasana) combines elements of physics and biomechanics. The rhythm of the joints with momentum, so that the body floats in the posture with control.
Instructions
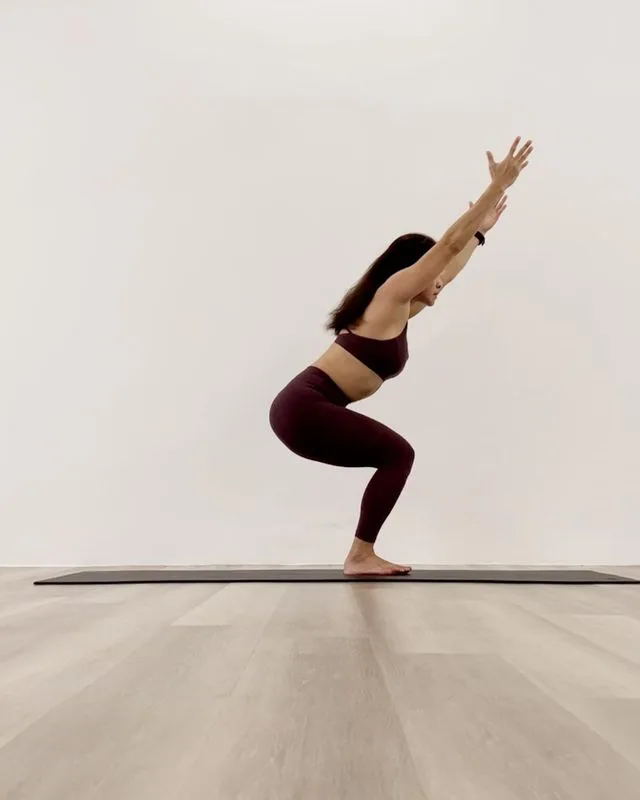
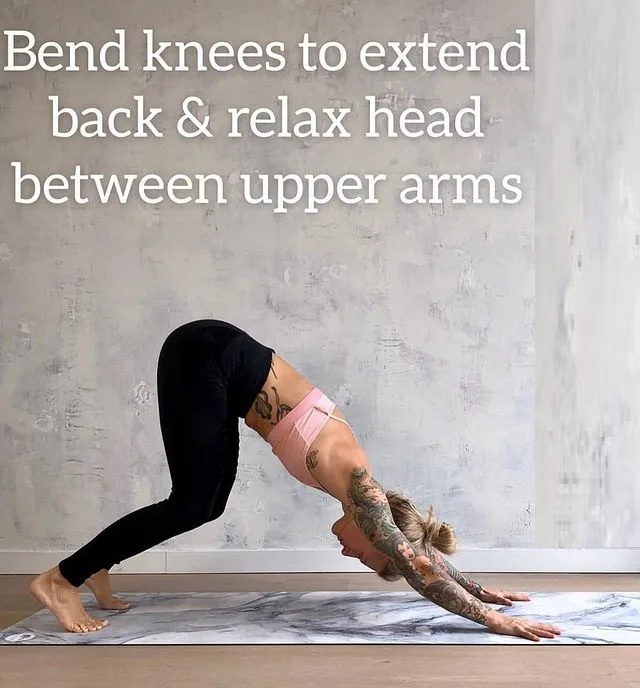
- Stand in Tadasana (Mountain Pose). Lean forward and place the palms on the floor about a foot from the wall. The distance between the palms should be the same as the distance between the shoulders. Keep the arms fully extended.
- Take the feet back and bend the knees. Exhale, bring the feet to the wall and balance. If the hands are placed away from the wall, then when the legs are supported against the wall, the curvature of the spine will be too high and this will cause a lot of strain. It will also be difficult to balance if the hands are kept away from the wall. Stay in this posture for one minute with normal breathing.
- After learning to balance on the hands with the support of the wall, take the feet away from the wall. Then try the pose in the middle of the room. Keep the legs fully extended and keep the toes facing upwards. Raise the head as high as possible.
Step-by-step Anatomy Engaging Techniques
Step-1
- Engage your gluteus maximus to lift your leg into the air and create an extension at your hip. Remember that your hip and pelvis move in rhythm and are connected to your lumbar spine.
- Activate your quadratus lumborum of the lower back.
- Notice how it pulls your pelvis upward. Visualize your gluteus minimus contraction, deep in the side of your pelvis.
- When your hip is in a neutral position, this muscle stabilizes the head of your femur in your hip socket.
Step-2
Activate your quadratus lumborum and erector spinae to extend your entire back into the pose. Ultimately you want your vertebral bodies to be aligned one on top of the other, so that the force of gravity is balanced by the inherent flexibility of your intervertebral discs. The facet joints between your each vertebra combine to stabilize your spine.
Step-3
- Use the arches of your palms to create a “spring” in your hands by gently flexing your fingers.
- Spread your fingers evenly and try to connect your forearms by engaging your pronator teres and quadratus. It brings the weight to the mound at the base of your index finger.
- Then activate your infraspinatus and small muscles to externally rotate your shoulders and shift the weight evenly to your hands.
- Note how pronouncing your forearms and externally rotating your shoulders creates a “coiling” force through your elbows. It tightens the ligaments of your elbow (ligamentotaxis) and stabilizes your arms. Counterbalance this action by spreading your weight evenly on your palms of the hands. It engages your supinator muscles of your forearms.
- To straighten your elbows, connect your shoulders with your hands while contracting your triceps.
- Your long head of the triceps originates from your scapula, so engaging of this muscle rotates the lower border of your scapula outward, pulling your acromion process away from your humerus, which allows for greater forward flexion of your shoulder.
- Externally rotating your shoulder removes the greater tuberosity of your humerus away from your acromion.
- Accordingly, extending your elbows and externally rotating your shoulders, frees your humeri to raise your head without injury to your bone.
- Contract your anterior deltoids to flex your shoulders overhead.
- Activate the upper third of your trapezius and your levator scapula to elevate your shoulder girdle. Once in the pose, pull your shoulders away from your ears to free your neck.
Step-4
- Squeeze your legs together and stabilize your pelvis to engage the adductor group of muscles on your inner thighs.
- Extend your toes with your long and short toe extenders.
- Bringing the soles of your feet parallel to the floor, activate your tibialis anterior muscle at the front of your lower legs to dorsiflex your ankles.
- Evert your ankles by contracting your peronei on the outer side of your lower legs, and then engage your tibialis posterior muscles to balance with an inversion flexion.
- These coactivations stabilize your bones of the lower legs, ankles and feet.
- Opening the soles of your feet relieves tension and stimulates your minor chakras located in this area.
Step-5
- Contract your quadriceps to straighten your knees.
- An indication for this is to raise your knees towards your pelvis.
- In Step-1 you engaged your gluteus maximus to extend your hip and lift your leg. It also causes some external rotation of your thigh.
- However, you want your femur to be in a neutral position with your kneecaps facing forward.
- Use your tensor fascia lata to resist the external rotation and help your quadriceps to straighten your knees.
- A sign for this is to imagine pressing the outer edges of your feet against an immovable object. It activates your abductor muscles (tensor fascia latae and gluteus medius), which are also the internal rotators of your hips.
- Your legs are held together by your adductor group, but your thighs turn inward with this action and bring your kneecaps back to a neutral position.
Step-6
- Co-activate your hip flexors (the psoas and its synergists) to balance the action of your hip extensors (the gluteus maximus and its synergists). This brings stability to the pose. You can gain awareness of this action by tilting your thighs slightly forward and back, refining the balance.
- Balance extension of your back with gentle activation of your abdominals. Note the attachment of your rectus abdominis to the front of your pelvis.
- Engagement of this muscle creates a stretch that counters the forward tilt of your pelvis, increasing stability.
Precautions and Contraindications
Handstand (Adho Mukha Vrksasana) is part of the inversion and advanced pose, comes with some precautions and contraindications to keep in mind while practicing the pose. These are explained below:
1. Injury and surgery
Individuals suffering from any shoulder injury should wait until they have fully recovered. They can make the beginners change and gauge if the upper body is ready to bear the weight, before attempting this advanced variation. Injuries related to any other part of the body, due to pressure in the inverted posture, are contraindications. Individuals who have undergone any kind of surgery of internal organs should not attempt Handstand (Adho Mukha Vrksasana) before approval from the doctor.
2. Back problems
People with any spinal problems such as slip discs or disc bulges should not attempt the Handstand (Downward-Facing Tree Pose) due to the pressure on the vertebrae while in an upside down position.
3. Heart and blood pressure
Jumping in Handstand (Full Arm Balance) is a cardiovascular activity and should not be practiced by people suffering from high blood pressure, or heart problems. People with a history of low blood pressure should also practice it comfortably and under the guidance of a yoga teacher/instructor, as the sudden rush of blood to the head can cause dizziness.
4. Anxiety and depression
While the practice of this yoga pose may be of some help with issues related to anxiety and depression, caution should still be exercised if the condition of the individuals is severe. Sudden influx of blood, lack of confidence, convulsions, lack of breath awareness, etc., will all make their symptoms worse, so it is best to avoid the practice of Handstand (Adho Mukha Vrksasana).
5. Pregnant and menstruation woman
Due to the difficulty of this asana, pregnant women should not practice it. The extra weight of the abdomen and uterus can make breathing difficult. Menstruating women should avoid Handstand (Adho Mukha Vrksasana) for the duration of their cycle, as it will obstruct blood flow.


