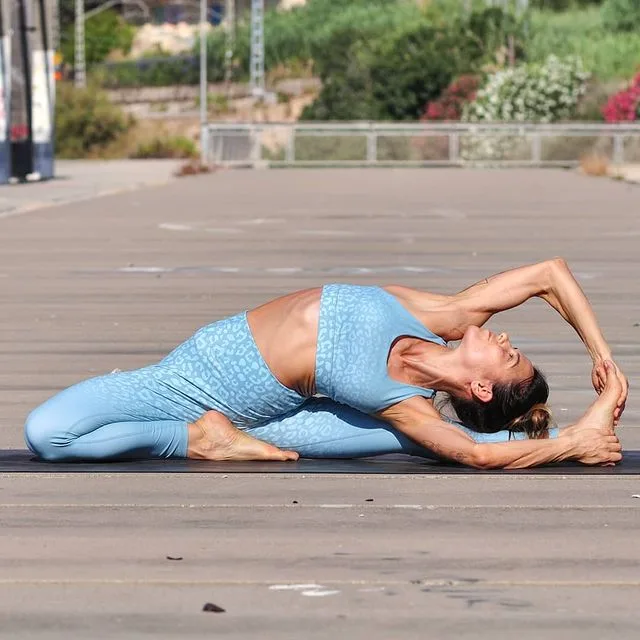
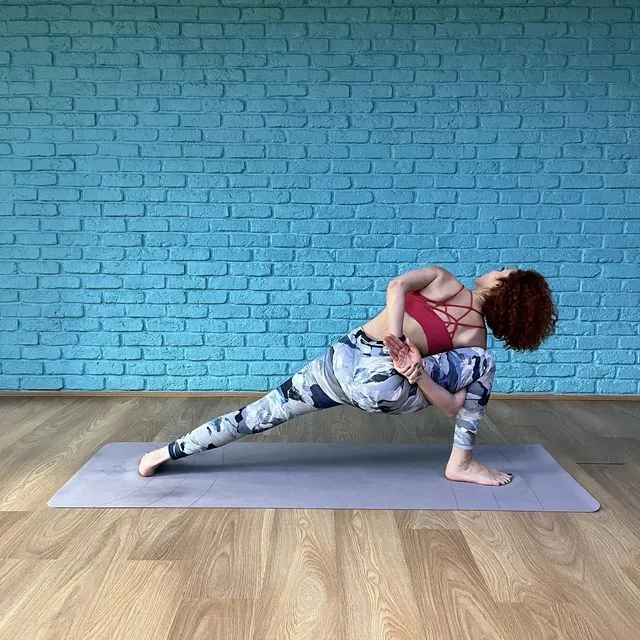
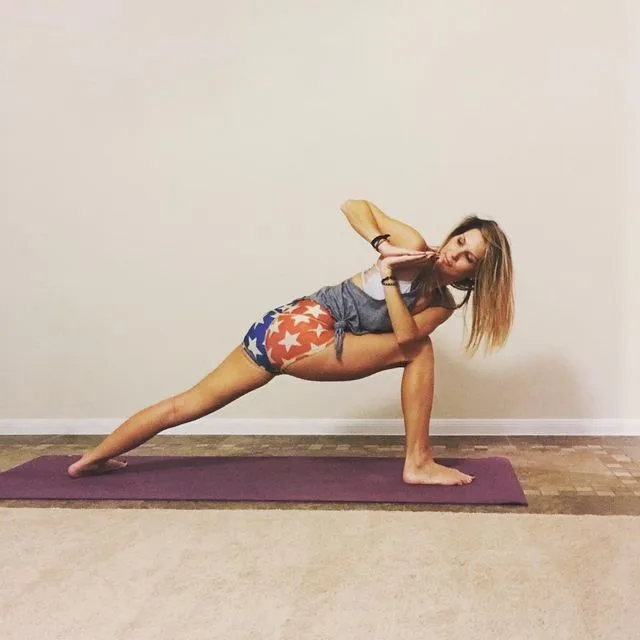
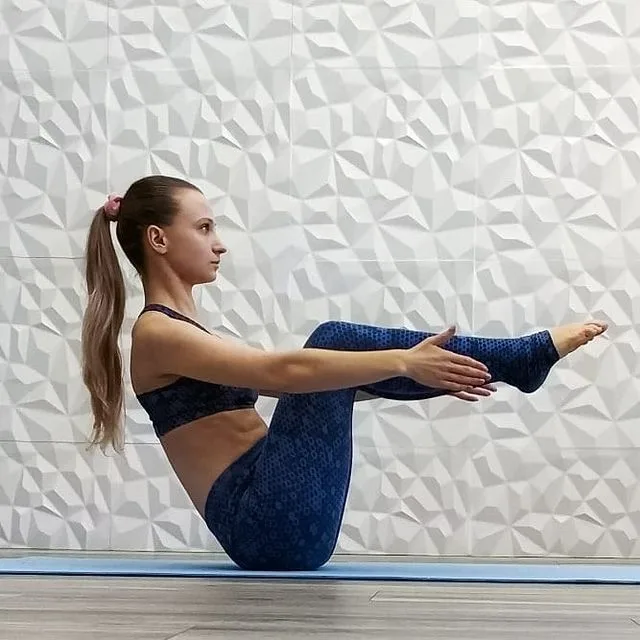
The Parivrtta Janu Sirsasana (Revolved Head to Knee Forward Bend Pose) works to open up your spine while stretching your hamstrings and shoulders from head to knee.
It can activate your liver and kidneys and lead to better digestion. Experts believe that regular practicing Janu Sirsasana, or Revolved Head to Knee Forward Bend Pose, can provide relief to people suffering from back pain, sleeplessness, headaches and exhaustion.
Information
| Know as: | Parivrtta Janu Sirsasana, Revolved Head to Knee Forward Bend Pose, Parsva Upavishta, Parsva Upavista, Seated Side Stretch Pose |
| Sanskrit name: | परिव्र्त्त जानु शीर्षासन |
| IAST: | Parivrtta jānu śīrṣāsana |
| Pronunciation: | PAHR-ee-VREE-tah JAH-noo sheer-SHAH-anna |
| Level: | Intermediate |
| Type: | Forward-Bend, Seated Pose, Hip Opener, Twist |
| Total time: | 30 to 60 seconds |
| Drishti: | Closed; Upward; Forward |
| Chahra: | Swadisthana Chakra, Muladhara Chakra |
| Focus: | Whole body (especially spine, legs, core) |
| Indications: | Backache, headache, insomnia, exhaustion; improve liver, kidney function and digestion |
| Counterposes: | Paschimottanasana (Seated Forward Bend Pose) |
| Preparatory poses: | Janu Sirsasana, Adho Mukha Shvanasana, Vrikshasana, Utthita Parsvakonasana |
| Follow-up poses: | Sarvangasana, Sirsasana |
| Contraindications: | Low blood pressure, diarrhea, low back injury, neck or shoulder injury |
Meaning
Parivrtta Janu Sirsasana is derived from the Sanskrit name, which is made up of four words – Parivrtta + Janu + sirsa + asana:
- “Parivrtta” = “revolved or turned round“
- “Janu” = “knee“
- “sirsa” = “head“
- “asana” = “pose or posture”
This is a very refreshing pose. In this variation of Janu Sirsasana, one leg is extended on the ground, the other is bent at the knee, the trunk is rotated round, the extended foot is grasped with both hands and the back of the head is placed on the knee of the extended knee by bending the spine back.
In Janu Sirsasana, the abdominal organs are contracted, but in the Revolved Head to Knee Forward Bend Pose they are stretched on both sides.
Benefits of Parivrtta Janu Sirsasana (Revolved Head to Knee Forward Bend)
Parivrtta Janu Sirsasana is a deep, seated twist that stretches the whole body, and strengthens the legs and core. This forward fold pose is a powerful variation of the Head to Knee Pose, which deepens the stretch to your hamstrings and spine, while providing all the benefits of a spinal twist.
Below, physical and mental benefits of this yoga pose are listed:
- Physical Benefits:
- Stretches the low back, hamstring, and calf muscles
- Strengthens the legs and core
- Opens the hips, groins, and shoulders
- Opens the musculature and fascia around the waist, chest, and rib cage
- Circulates blood to the colon, liver, and kidneys
- Improves digestion
- Stimulates the reproductive system
- Mental Benefits:
- Reduces stress
- Soothes the nervous system
- Relieves mild depression
- Relieves anxiety
Step-by-step Parivrtta Janu Sirsasana (Revolved Head to Knee Forward Bend)
Step-1
Sit with your legs stretched out. Bend your right leg and bring your leg to the right, with the knee on your left thigh. Inhale and lengthen through the spine. Exhale and twist your torso towards the straight leg. Place your right heel on your right inner thigh near the perineum. Pull your right knee back as far as possible.
Step-2
Extend your left arm out to the side and grasp the inside of your left foot. Place your right hand on the right knee.
Step-3
Inhale and stretch from the lower abdomen to the top of your head. Hold length, exhale, and twist your abdomen and chest to the right, drawing your left shoulder in toward the inside of your left thigh. Reach your right hand to grasp the outside of your left foot. Press your left thigh bone down and extend out through your legs from the core of your pelvis. Press your left hand onto your right knee to facilitate a deeper bend.
Step-4
Bring your left hand around to grasp the inside of your left leg, pushing your left shoulder even further on the inside of your left thigh. Bend your left-hand so that the thumb is facing down. Spread your elbows apart. With each inhale, expand from your lower abdomen through your head. Twist the torso upward, resting the back of your head on the left leg. With each exhalation, twist more deeply. Hold for 30 to 60 seconds, then release and repeat on the other side.
Step-by-step Anatomy Engaging Techniques
Step-1
- Engage your quadriceps to straighten the knee of your extended leg.
- Use your tensor fascia lata on the side of your leg to coordinate this action. This muscle also flexes and internally rotates your thigh. Your gluteus minimus, located deep in your tensor fascia lata coordinates these actions. Imagine this muscle contraction.
- Your quadriceps produce reciprocal inhibition of your hamstrings, and your flexor component of the tensor fascia lata and gluteus minimus together with your psoas produce reciprocal inhibition of the gluteus maximus.
Step-2
- Flex your trunk over your straight leg. Pay attention to the paired movements of your spine, pelvis, and hip.
- Contract your psoas and pectineus to flex your hip and tilt your pelvis forward. A cue for engaging these muscles is to imagine lifting your entire leg off the floor.
- Activate your abdominals of the lower-side to draw the trunk against your thigh. Observe how it interacts with your ischial tuberosity at the back of your pelvis, forming a vertex of the triangle that focuses the stretch on your hamstrings. Your hamstring insertion is the second vertex of the triangle.
- Contract your quadriceps to extend your knee, moving the insertion of your hamstrings away from their core. Co-activate the muscles of the lower-side of the trunk with your quadriceps to focus the stretch on the back of your extended leg.
Step-3
- Your sartorius flexes, abducts and externally rotates your hip of the bent leg. Your hamstrings flex your knee. Engage both muscles to perform these actions, and be aware of how this affects the stretch on the upper part of your trunk.
- There is a tendency to ignore the bent leg when you focus on grabbing your leg and stretching your straight leg. Your back leg position, however, is an integral part of the pose—it produces a backward-directed force that deepens the stretch of your forward-flexing trunk.
Step-4
- Your abductors and external rotators of your hip (located deep in the gluteus maximus) coordinate the actions of your sartorius and hamstrings.
- Contract your gluteus maximus to externally rotate your femur, and engage the deep external rotators to keep your tailbone under.
- Your tensor fascia lata and gluteus medius abduct your thigh.
- Although the main position of your femur is external rotation, your tensor fascia lata and gluteus medius also generate an internal rotation component that helps protect your knee.
- Squeeze your lower leg against the upper leg by engaging your hamstrings, and turn your femur as a unit.
- Draw your thigh back and down diagonally, so that your knee joint remains in the form of a hinge. Notice how these actions stabilize the pose by keeping your hips and pelvis on the ground.
Step-5
- By contracting your deltoids, press the back of your lower arm towards the inside of your lower leg. This action engages your upper and lower body. Since the arm is fixed against your thigh, engaging your deltoids rotates the trunk rather than moving your arm.
- Externally rotate your upper arm by activating your infraspinatus and teres minor muscles.
- Turning your shoulders in this way creates a “coiling” effect under your arms and into your hands (which are holding the legs). Combine it by contracting your lower third of the trapezius and drawing your shoulders away from your neck. Notice how it pushes your chest forward.
- Arch the back by engaging your erector spinae and quadratus lumborum muscles (especially on the lower side).
Step-6
Next, engage your biceps and brachialis muscles to flex your elbows. Your hands are holding your legs, thereby connecting your upper and lower appendicular skeleton. Connecting your hands with the feet has an effect on your spine. In this case, flexing the elbows while holding your feet laterally flexes your trunk deeper into the pose.
Precautions and contraindications
- If you are currently suffering from asthma or diarrhea, stay away from Parivrtta Janu Sirsasana, or Revolved Head to Knee Forward Bend Pose.
- While coming out of this pose, keep in mind that the upper body is not bent. Start with releasing your upper arm. This will prevent any internal injury to you.
- Be careful when moving your neck. Don’t exaggerate by moving your neck, just tilt it so that your gaze is fixed on the ceiling.
- Never practice this yoga pose when you are suffering from an upset stomach.
- People with pulled hamstrings, or chronic injuries to the hip, back, knee or shoulder should avoid this pose or practice this pose only under the guidance of an experienced and knowledgeable yoga teacher/instructor.
- Pregnant women should avoid doing the Revolved Head to Knee Forward Bend Pose.


