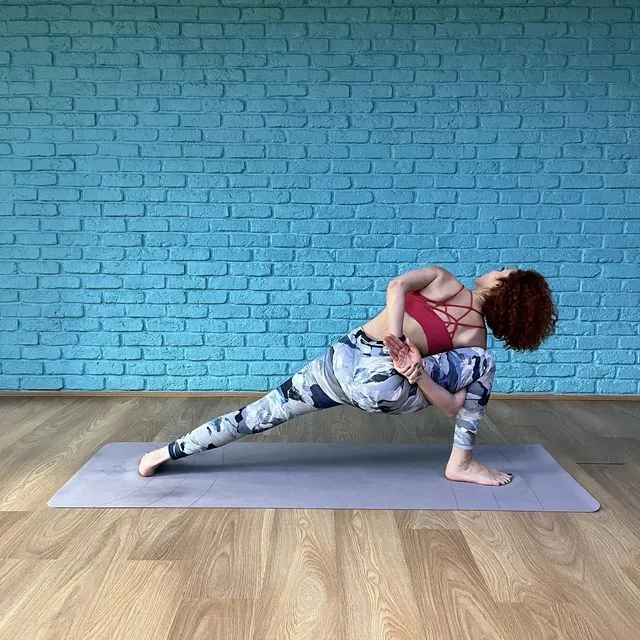
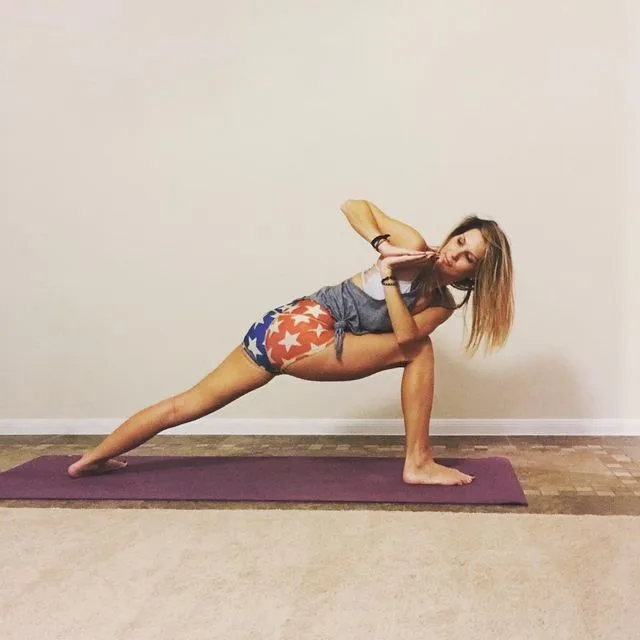
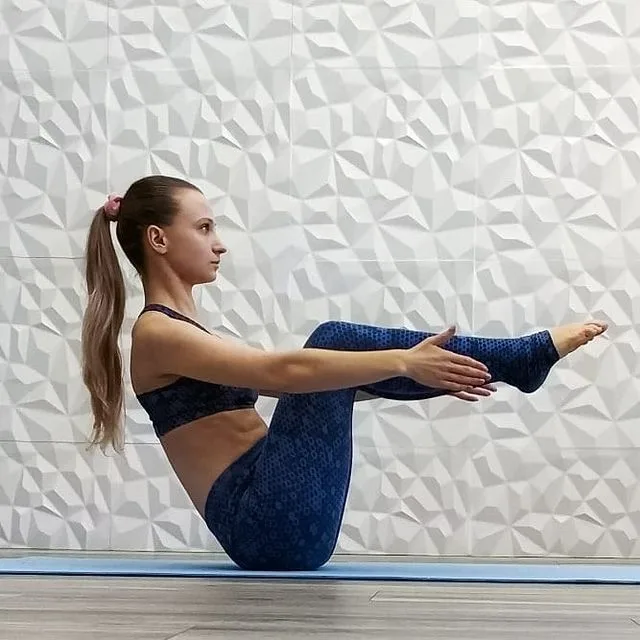
Parsva Upavistha Konasana, also known as Side Seated Angle Pose, is an intensive lateral stretching posture that equalizes the sacroiliac joints, releases the quadratus lumborum muscles, and tones the abdominal muscles.
After all the intensive forward and backward bending in the Intermediate pose, Parsva Upavistha Konasana is meant to help the body integrate those dynamic states of movement. By elongating laterally, the muscles of the rib cage are also stretched, that allowing you for the fuller, deeper breath.
Experts believe that regular practicing Parsva Upavistha Konasana, or Side Seated Angle Pose, can energizes the abdominal organs, stabilizes the mind, equalizes the spine and hips.
Information
| Know as: | Parsva Upavistha Konasana, Parsva Upavista Konasana, Sideways seated angle pose, Side Seated Angle Pose, Seated Side Stretch Pose, Side open angle pose |
| Sanskrit name: | पार्श्व उपविष्ठ कोणासन |
| IAST: | Pārśva Upaviṣṭa Koṇāsana |
| Pronunciation: | PA-AAr-svA oo-pah-VEESH-tah cone-AHS-ah-nah |
| Level: | Intermediate |
| Type: | Forward-Bend, Seated Pose, Hip opener, twist |
| Total time: | 30 to 60 seconds |
| Drishti: | Forward; At knee or shin |
| Chakra: | Manipura Chakra, Swadisthana Chakra |
| Focus: | Spine, legs |
| Indications: | Insomnia, headache, exhaustion; liver and kidney function, improve digestion, backache |
| Counterpose: | Knees-to-Chest Pose, Supported fish pose |
| Preparatory poses: | Baddha Konasana, Supta Padangusthasana, Uttanasana, Janu Sirsasana, Upavistha Konasana |
| Follow-up poses: | Paschimottanasana, Wide-angle seated forward bend pose, Vrksasana |
| Contraindications: | Low back injury, Low blood pressure |
Meaning
Parsva Upavistha Konasana is derived from the Sanskrit name, which is made up of four words – Parsva + upavistha + kona + asana:
- “Parsva” = “side“
- “upavistha” = “seated“
- “kona” = “angle“
- “asana” = “pose or posture”
Benefits of Parsva Upavistha Konasana
The physical and mental benefits of Parsva Upavista Konasana are listed below:
- Physical Benefits:
- Promotes spinal flexibility
- Strengthens the low back
- Stretches the calf, hamstring, and low back muscles
- Opens the hips, groin, and shoulders
- Opens musculature and fascia around the waist and rib cage
- Increases circulation to the liver and kidneys
- Improves digestion
- Stimulates the reproductive system
- Mental Benefits:
- Reduces stress
- Relieves anxiety
- Relieves mild depression
- Soothes the nervous system
Practice Guide to Parsva Upavistha Konasana

Instructions
Step-1
Sit with your legs stretched out. Widen your legs to about 90 degrees and rotate them inward so that your feet and knees are straight up. Manually widen your pelvic floor by moving the flesh of your buttocks to the side and back. Spread your toes. Bring your hands behind you and press the fingers down firmly. Tilt your pelvis forward to create a natural curve in the lower back.
Step-2
Place your fingers on either side of your right leg and twist your torso to the right. Exhale and lower your thighs and sit bones. Inhale, lengthen through your head from your lower abdomen, and move your abdomen, lungs, and heart to the right. Pull your hands back towards your body. Pull your shoulders back and bring your shoulder blades firmly to your back. Pull back with your fingers against the resistance of the floor. Keep the inseam of your thighs firmly facing down.
Step-3
While exhaling, step your right leg forward and hold your right leg with both hands. Press the ball of your big toe into your hands. Extend out through your legs from your lower abdomen and extend your toes. Lower your tailbone and pull the sides of your waist back.
Step-4
- Inhale and lift from your lower abdomen through your head. Exhale and stretch your leg forward, leading with your heart. If you are able to keep your spine extended, you can bring your forehead towards your upper shin.
- Actively spread your toes and press your foot into your hands. Use the resistance of your foot and pull back with your hands to pull the muscles up to the arms and up to the shoulders. Raise your elbows and the front of your shoulders to help you draw your shoulder blades more deeply into your back. Press your thigh bones down and powerfully extend through your legs.
- Stay in this pose for 30 to 60 seconds. Release and repeat the process on the other side.
Step-by-step Anatomy Engaging Techniques
Step-1
Bending the knee releases your origin of the main calf muscle, the gastrocnemius. This allows its insertion on your heel bone to move freely.
Step-2
Once your calf muscles are relaxed, bend your elbows to tilt your foot backwards and hold it in this position. This fixes the insertion of your calf muscles at a point further away from their origin on your femur. It’s an example of connecting your upper and lower extremities to deepen the pose.
Step-3
Your hands continue to grip the feet while your biceps and brachialis muscles remain active, bending your elbows and holding your foot in the tilted back (dorsiflexed) position. Your quadriceps then straighten your knee. This action draws the origin of your calf muscles on the back of your knee away from their insertion on your heel, stretching these muscles.
Step-4
Bending your knee releases the insertion of your hamstring muscles on your lower leg. Your psoas muscle then tilts your pelvis forward. This action moves the origin of your hamstrings at the back of your pelvis away from their insertion on your lower leg.
Step-5
Contracting your quadriceps straightens your knee, moving the insertion of your hamstrings on the lower leg away from their origin at the back of your pelvis. Your psoas maintains your pelvis in a tilted forward position. These actions combine to lengthen your hamstrings.
Step-6
Your hands and arms tilt your ankle joint back and your knee straightens, lengthening your calf muscles. The knee straightens and your pelvis tilts forward, lengthening your hamstrings. Your hip flexes, lengthening your gluteus maximus. The elbows flex, bending your trunk forward to stretch the muscles running the length of your spine. This action pulls your pelvis further forward and combines with your psoas to intensify your entire stretch.
Precautions and contraindication
Parsva Upavistha Konasana requires twisting and stretching. Here are some precautions and contraindications for this pose:
Precautions:
- Spine, hips, knees, or lower back injury: If you have recently had an injury or if you have a chronic injury to the spine, hips, knees, or lower back, it is important to approach this pose with caution. The twisting and stretching involved in this pose can put added stress on these areas, which can cause further injury.
- Digestive or abdominal problems: This pose involves twisting the spine and pressing against the abdominal organs, which can cause discomfort if you have any digestive or abdominal problems. It’s best to avoid this pose or practice it under the guidance of a teacher if you have such issues.
- High blood pressure or heart problems: The twisting action in this pose can increase blood pressure, so if you have high blood pressure or heart problems, it is recommended to practice this pose under the guidance of a qualified teacher.
Contraindications:
- Pregnancy: During pregnancy, the uterus is already under pressure and this pose can compress it further. This is why it is not recommended for pregnant women.
- Severe lower back pain: If you have severe lower back pain, this pose can put added stress on the lower back and can worsen the condition. It’s best to avoid this pose until your lower back pain subsides.
- Severe knee injury: The twisting motion in this pose can put added stress on the knees, so if you have a severe knee injury, it’s best to avoid this pose or practice it under the guidance of a qualified teacher.
- Diarrhea: The twisting action in this pose can affect the digestive system and can worsen the condition of diarrhea. It’s best to avoid this pose if you are experiencing diarrhea.


