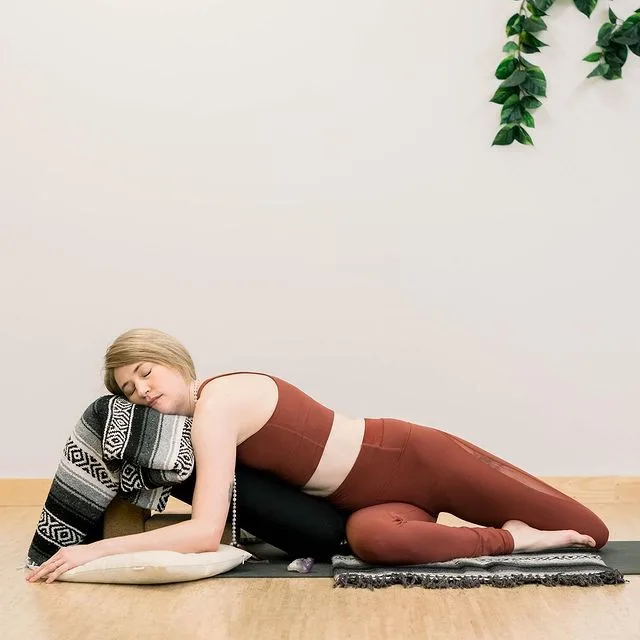
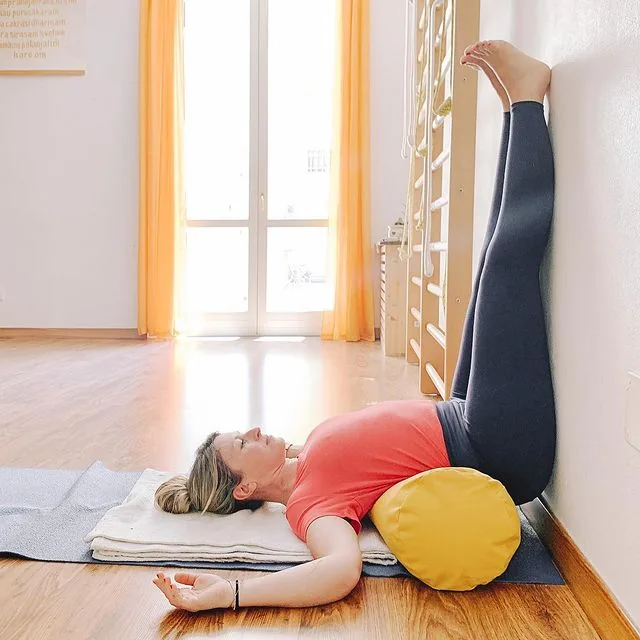
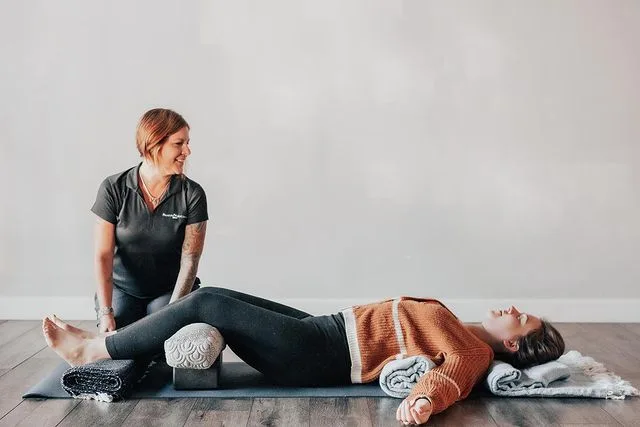
The Simple Supported Back Bend Pose or Supported Fish Pose helps to open up the front of your body. It also helps improve spinal flexibility and posture!
The Simple Supported Back Bend Pose or Supported Fish Pose opens up the heart and shoulders and soothes the back by applying light pressure to the joints during work and working deep into the connective tissue or “fascia”… tendons, ligaments, etc.
Tissues respond by becoming longer and stronger. It detoxifies, rejuvenates and gives relaxation.
Information
| Known as: | Simple Supported Back Bend Pose, Supported Backbend Pose, Supported Fish Pose, Matsyasana Blocks Knees Bent, Matsyasana Bolster Knees Bent, Supported Matsyasana Kee Bent Pose |
| Level: | Beginner |
| Type: | Relaxation, Restorative, Backbend Pose, Heart Opener |
| Total time: | 1 to 10 minutes |
| Drishti: | Eyes closed |
| Chakra: | Sahasrara Chakra, Ajna Chakra, Vishuddha Chakra |
| Focus: | Spine |
| Indications: | Detoxifies, rejuvenates, relaxation, spinal flexibility |
| Preparatory poses: | Usually performed after Pranayama as well as dynamic yogic postures like Sun Salutation after each yogic session |
| Follow-up poses: | Sukhasana (Easy Pose) |
| Contraindications: | Pregnant wormen for more than three months, menstruation, diagnosed with spondylolisthesis, spondylolysis, or disc disease |
Benefits of Simple Supported Back Bend Pose
The Simple Supported Back Bend Pose is an antidote to your habitual posture of rounding forward. The front part of your body is activated, and your abdominal organs are stimulated. This backbend pose will make you feel refreshed.
It improves flexibility and focus. Also, by staying in this yoga posture for so long, through the calmness in the body, you can begin to see peace in your mind.
Simple Supported Back Bend Pose Practice Guide
Many of us sit at work all day long and our spine is round, and our arms are in front of our torso. As a result, tension builds up in the muscles of the upper back and shoulders. In response, most of us have a desire to extend our arms overhead and bend backwards. That’s just what Simple Supported Backbend Pose helps us do, but in a supported way.
Equipment needed
- Props:
- Long-roll blanket
- Bolster
- Optional Props:
- Double-fold blanket
- Extra blanket for warmth
- Eyebag
- Clock or timer
Step-by-step Instructions to Simple Supported Backbend Pose
Step-1
- To begin, sit on the floor in front of the long side of your bolus, knees bent and feet flat on the floor, placing a long-roll blanket by your side.
- Proceed slowly and carefully.
- If lying on your back causes problems with your lower back, start by lying on your side on top of the bolster and then lying on your back.
- If you can lie back, keep your elbows on the bolster. Then, while moving your head back, support your neck with one hand.
- Now lie on top of the bolt so that your mid-back is supported, and your shoulders rest comfortably on the floor.
Step-2
- The length of your torso will affect your comfort in this restorative pose. Some shorter ones have longer torsos; Some tall people are short.
- If you’re tall from shoulders to hips, place a double-fold blanket over bolsters to increase height. This modification will allow you to rest lightly on your shoulders without letting your neck hit the floor.
- If you are shorter from shoulders to hips, you may feel more comfortable with a lower height.
- If you use props that are too high for you, the head will hang without support.
Step-3
- Be careful not to put too much weight on the cervical spine (neck). Place the long-roll blanket under the shoulders.
- If it’s too much, unroll it until you’re comfortable. This support helps maintain the natural curve of the neck and allows your throat to open up and relax.
- Keep your knees in full swing to protect your back and relax your stomach. If you find it more comfortable, allow the knees to rest against each other. Rest the arms on the floor, above the head, or out to the sides, whichever is more pleasant. Breathe naturally.
Step-4
Stay in the pose for 30 seconds to determine how you are feeling. If you feel any discomfort in your lower back, unscrew the bolt slightly in the direction of your head. If this fails to relieve it, move the bolt toward your feet or place your feet on a folded blanket. Make sure your chest is open, and your ribs are away from the abdominal organs.
Step-5
- If none of these adjustments make the posture feel good, carefully roll to one side and sit down.
- The following adjustment usually does the trick: Decrease the degree of the arch. Place the short side of the block against the long side of the bolster. Sit on the block and use the support of your hands on the floor to lie down.
- Continue to use the roll under your shoulders to increase your comfort and protect your neck.
- The tailbone and part of the buttocks should be supported by the block. There should be some arch in your back, especially at the level of the shoulder blades.
- Close your eyes. Place eyebags on them.
Step-6
To be present, breathe slowly and evenly. Feel held by the props. Your arms are wide open and open. With each inhale, your front body opens up; With each exhalation, your abdomen and organs soften and your mind becomes calm. Allow your back to sink into the support as you slowly relax. Imagine that you are lying in a beautiful and safe place. Open to this space, and relive the beauty and wholeness of the moment.
Step-7
Practice the Simple Supported Back Bend Pose for 1 minute, gradually increasing your time in the pose. To come out, remove the eyebag. Push off with your feet and slide toward your head. Rest for a few breaths by keeping your lower back flat on the floor and your feet supported by bolsters. Then roll to the side and sit down slowly.
Precautions and contraindications
- If you experience pain in your lower back, avoid doing this yoga pose. Allow for a sensation of stretch, which may feel unusual, especially if you are protecting your lower back.
- If you have been diagnosed with spondylolisthesis, spondylolysis, or disc disease, do not practice the Simple Supported Back Bend Pose.
- Avoid doing this yoga pose if you are pregnant for more than three months. Instead, practice the restorative sequences.
- Do not do Simple Backbend Pose during menstruation. Instead, practice restorative pose sequences.


